Integrating a white label crypto payment gateway is not only about connecting to an API. It means adding a complete crypto payment flow to your website or application while keeping control of the customer experience.
With OxaPay White Label, your business can display the payment address, QR code, amount, network, and payment status inside its own interface. Meanwhile, OxaPay handles the underlying payment infrastructure, including payment generation, blockchain monitoring, and transaction updates.
This approach allows businesses to offer crypto payments under their own branding without building and maintaining blockchain payment infrastructure internally.
In this guide, we explain how to integrate the OxaPay White Label gateway, what your business needs before starting, and which payment situations should be considered before going live.
Is White Label Right for Your Business?
Before starting the integration, it is important to decide whether a white label solution is the right option for your payment flow.
A hosted crypto payment page is often sufficient for businesses that want to start accepting cryptocurrency quickly. In that model, customers are redirected to a payment page provided by the gateway to complete the transaction.
White Label is more suitable when the payment experience is an important part of your product or customer journey. Instead of redirecting customers to an external payment page, you display the payment information inside your own website, application, platform, or checkout.
This solution is especially useful for businesses that want to:
- maintain consistent branding throughout the checkout
- keep customers inside their own platform
- control how payment instructions and statuses are displayed
- connect crypto payments to their existing order process
- avoid building blockchain payment infrastructure from the ground up
The main difference is the level of control. Your business manages the customer-facing experience, while OxaPay manages the payment infrastructure behind it.
What You Need Before Starting
A White Label integration requires some preparation, but your business does not need to operate blockchain nodes or build its own transaction-monitoring system.
Your website or application should have a backend that can securely communicate with the OxaPay API, store payment information, and connect each payment to the correct order.
You also need a callback endpoint that can receive payment updates from OxaPay. These updates allow your system to know when a customer has started paying and when the payment has been completed.
Finally, your payment interface should be able to display essential details such as:
- the payment amount
- the selected cryptocurrency
- the blockchain network
- the payment address
- the QR code
- the remaining payment time
- the latest payment status
The interface should make these details clear, especially the selected network and expiration time, because mistakes in these areas can create payment problems.
White label crypto payment gateway integration with OxaPay
1. Create an OxaPay Merchant Account
The first step is to create an OxaPay account and access the merchant dashboard.
From the dashboard, you can manage your Merchant API Key, payment settings, supported currencies, transaction records, and other merchant tools.
At this stage, you are preparing your business account to communicate with OxaPay. You do not need to create individual blockchain wallets for every order or build your own system for monitoring transactions.
2. Generate Your Merchant API Key
Next, generate a Merchant API Key from your OxaPay account.
This key allows your system to authenticate payment requests sent to the OxaPay API. It should always be stored securely on your backend server.
The Merchant API Key must not be placed in frontend code, public repositories, browser scripts, or any other location that customers can access.
Your backend should use the key when creating White Label payment requests. The frontend should only receive the payment information it needs to display to the customer.
3. Create a White Label Payment Request
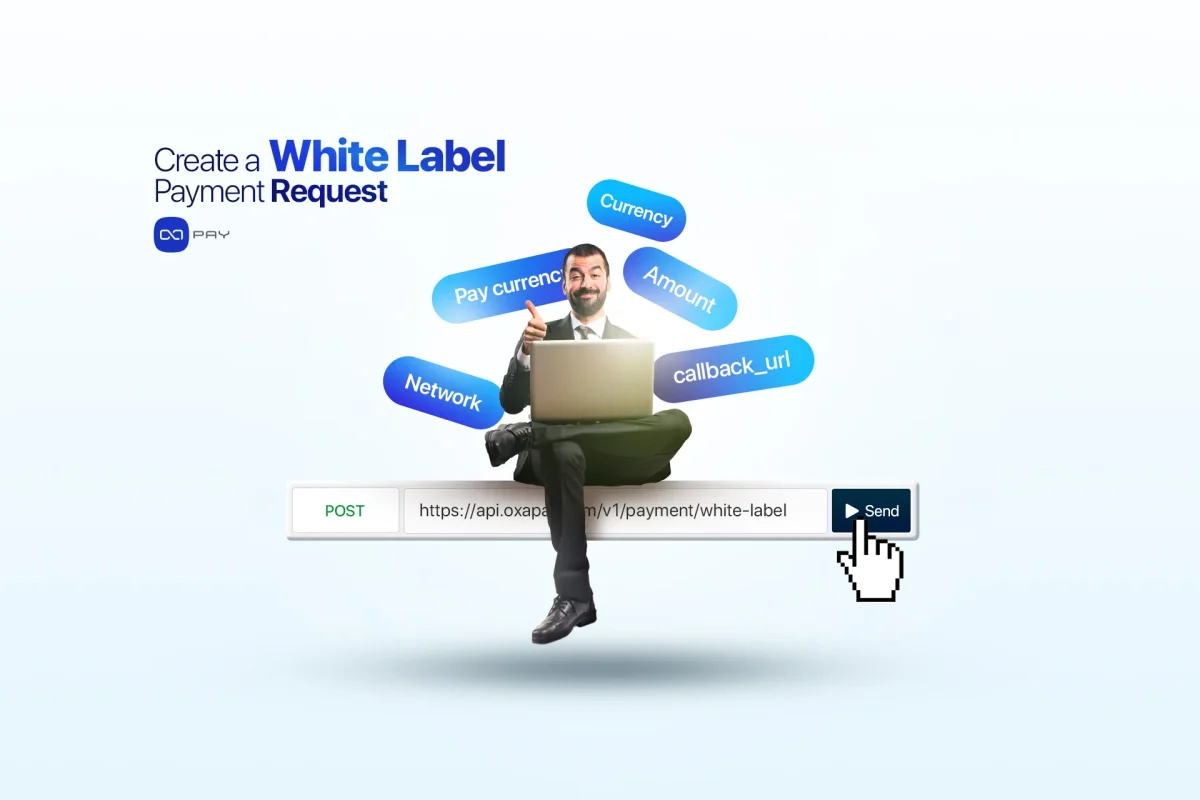
To generate a White Label payment, your system sends a request to the following endpoint:
POST https://api.oxapay.com/v1/payment/white-labelThe two required payment fields are:
amount: the value of the paymentpay_currency: the cryptocurrency used for the payment
Other fields can be added depending on your payment flow.
For example:
currencydefines the currency used to price the order, such as USD.networkselects the blockchain network when the cryptocurrency is available on multiple networks.order_idconnects the payment to an order in your own system.callback_urltells OxaPay where to send payment updates.lifetimedefines how long the payment remains valid.under_paid_coveragedefines the acceptable difference between the requested and received amounts.
The currency, network, order_id, and callback_url fields are optional in the API. However, using an order ID and callback URL is strongly recommended for businesses that need reliable order tracking.
When the request is successful, OxaPay creates a payment session and returns the information your system needs to present the payment.
4. Receive the Payment Information and Display It
After creating the payment request, OxaPay returns structured payment information.
This can include:
- a unique
track_id - the exact payment amount
- the payment cryptocurrency
- the blockchain network
- the payment address
- a QR code
- the expiration time
Your system should store the track_id and connect it to the correct internal order. This identifier helps your business track the payment and investigate it later when necessary.
Your frontend can then use the returned information to create a branded payment page.
The customer should be able to:
- scan the QR code
- copy the payment address
- copy the exact amount
- see the required cryptocurrency and network
- check how much time remains
- follow the current payment status
This is the main advantage of the White Label model. The customer completes the payment inside an experience designed and branded by your business.
The payment page should also warn customers not to send funds after the payment has expired. According to the OxaPay documentation, generated White Label addresses are valid only for the specified payment lifetime.
5. Track the Payment Status
Once the customer sends the cryptocurrency, OxaPay monitors the payment and reports its progress.
OxaPay payment statuses can include states such as:
- waiting for payment
- payment in progress
- paid
- underpaid
- expired
- manually accepted
- refunded
Your business does not need to show every internal status to the customer. The interface can translate these states into simple messages such as “Waiting for payment,” “Payment detected,” “Payment completed,” or “Payment expired.”
The important point is that your system should not complete the order too early.
OxaPay sends a paying update when payment activity has been detected. Your system should normally wait for the final paid status before delivering the product, activating the service, or marking the order as completed.
6. Receive and Validate Payment Updates
OxaPay sends payment updates to the callback_url included in the payment request.
These notifications allow your system to:
- identify the related payment
- update the internal order status
- inform the customer about progress
- complete the order after successful payment
Because the callback endpoint is publicly accessible, your system should validate incoming notifications before taking action.
OxaPay provides a security signature with its callbacks. Your technical team should verify this signature and confirm that the payment information matches the stored order details.
This does not need to be visible to the customer, but it is an important part of protecting the payment process.
Your system should also be prepared to receive the same update more than once. A repeated callback must not result in duplicate product delivery, repeated balance credit, or multiple order confirmations.
OxaPay may retry a callback when your system does not successfully confirm that it was received.
Underpayment Handling
Sometimes, a customer may send less than the requested payment amount.
OxaPay provides an underpayment tolerance option that allows the merchant to define an acceptable difference between the expected and received amounts.
If the difference falls within the accepted range, the payment can continue according to the configured policy. If the amount is below the accepted threshold, the payment may require another action.
Depending on your business model, you may:
- ask the customer to complete the remaining amount
- review the payment manually
- accept the payment under an internal policy
- cancel or refund the order when appropriate
Underpayments should not automatically be treated in the same way as failed payments. They should have a clear process so that customers and support teams know what happens next.
7. Test the Complete Payment Flow
Before launching the integration, test the complete customer journey from payment creation to order completion.
Your tests should include:
- successful payment creation
- correct display of the address and QR code
- accurate payment amount and network information
- payment status updates
- successful order completion
- expired payments
- underpayment situations
- repeated payment notifications
- delayed payment updates
You should also check how the payment page works on mobile devices. Many customers will scan the QR code on another device or copy the address directly into a mobile wallet.
Testing only the initial API request is not enough. The complete order process, including payment updates and fulfillment, should work reliably before the integration is made available to customers.
Important Integration Considerations
A reliable White Label payment experience depends on a few practical details.
Expiration Handling
When a payment expires, your system should stop presenting it as active. The customer should be given an option to create a new payment request instead of continuing to use the expired payment information.
Correct Network Selection
If a cryptocurrency is supported on more than one network, display the selected network clearly.
A customer who sends funds through the wrong network may need to contact support, and recovery may not always be possible. Clear instructions can prevent many of these mistakes.
Clear Payment Instructions
Customers should immediately understand:
- which cryptocurrency to send
- which network to use
- how much to send
- where to send it
- how long the payment remains valid
- what happens after payment
A clear payment page reduces confusion and creates a more reliable checkout experience.
White Label Integration Flow
The complete process can be summarized in seven steps:
- Your system creates an internal order.
- Your backend sends a White Label payment request to OxaPay.
- OxaPay returns the payment details.
- Your website or application displays the payment inside its own interface.
- The customer sends the requested cryptocurrency.
- OxaPay monitors the transaction and sends payment updates.
- Your system confirms the payment and completes the order.
Conclusion
Integrating the OxaPay White Label crypto payment gateway allows a business to control its payment experience without building the underlying blockchain infrastructure itself.
OxaPay handles payment generation, transaction monitoring, and payment updates. Your business controls the branding, customer interface, order management, and final fulfillment process.
The idea is straightforward: your business owns the customer experience, while OxaPay provides the payment infrastructure behind it.
With a clear payment page, reliable status tracking, and proper testing, White Label integration can provide customers with a consistent crypto payment experience that remains fully connected to your website or application.