To accept crypto payments on WooCommerce, you can add a supported payment gateway plugin without replacing your existing checkout. OxaPay connects crypto checkout to your WooCommerce orders, so a customer can pay by cryptocurrency while you continue managing sales in WordPress.
The OxaPay WooCommerce plugin creates a payment invoice for each order, shows the available payment options, and synchronizes the order as payment status changes. The store does not need to publish a reusable wallet address or build its own transaction-matching system.
This guide explains what the plugin does, how to install and configure it, which settings matter for merchants, and how to test the full payment journey before accepting live orders.
Does WooCommerce Accept Crypto Payments?
Yes. WooCommerce can accept cryptocurrency through a compatible gateway extension, although crypto is not one of its built-in payment methods. OxaPay adds a crypto option alongside the other payment methods you already use, without requiring you to write a custom integration.
Customers who already hold Bitcoin, USDT, USDC, or other supported assets can pay without a card. For merchants, the operational advantage is broader than adding a logo at checkout: the payment is linked to an order, with a traceable status and a defined confirmation workflow.
Crypto payments can be useful for international customers, audiences who prefer digital assets, or merchants seeking another payment rail. Fees and settlement times vary by method, asset, and network, so treat crypto as a complementary option rather than a guaranteed faster or cheaper replacement for every existing gateway.
OxaPay offers an official WooCommerce plugin that is also listed in the WordPress Plugin Directory.
How OxaPay Works Inside a WooCommerce Checkout
The customer-facing payment page and the store-side order record are two parts of the same transaction. A typical checkout follows this sequence:
- The shopper confirms the cart and selects OxaPay at WooCommerce checkout.
- WooCommerce creates the order, and the plugin requests a corresponding crypto invoice from OxaPay.
- The shopper moves to the OxaPay payment page, sees the payable amount, and selects an available currency and network.
- The shopper transfers the funds from a compatible wallet; the payment is monitored as it is detected and confirmed.
- Once the relevant payment status is confirmed, the plugin updates the associated WooCommerce order. The shopper can return to the store.
The shopper’s return to the website is not itself evidence of payment. For fulfillment, stock release, or access to digital goods, rely on the verified WooCommerce payment status rather than the browser redirect.
Before You Install: Store and Account Requirements
Start with a working WordPress store that has WooCommerce configured and an administrator account permitted to add payment plugins. You also need an OxaPay account and a Merchant API Key, which connects the gateway to your merchant configuration.
Decide which payment currencies and networks your customers actually need, and how you want to handle funds after receipt. Stablecoin availability, network choice, and settlement settings can affect customer support, transaction cost, and treasury operations.
Before making changes to a live checkout, confirm current compatibility and release details on the official WordPress plugin listing. Keep a recent backup and set aside time to test an order from checkout through the expected order-status transition.
How to Set Up OxaPay on WooCommerce
1. Download and install the official plugin
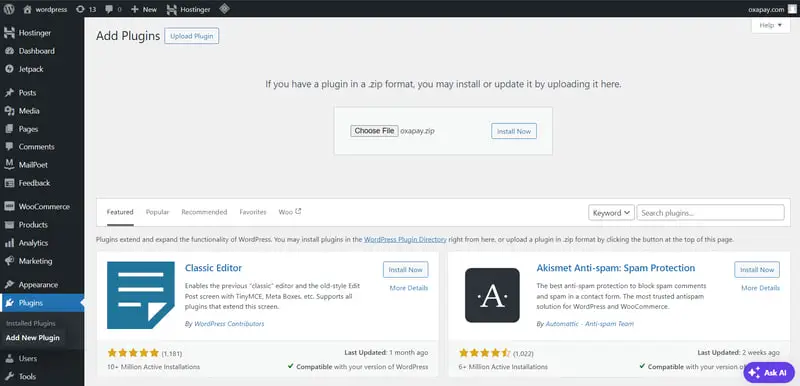
In your WordPress dashboard, open Plugins → Add New. Search for OxaPay and use the official listing, or select Upload Plugin to install the current ZIP package from the OxaPay WooCommerce integration page. Choose Install Now.
2. Activate the plugin
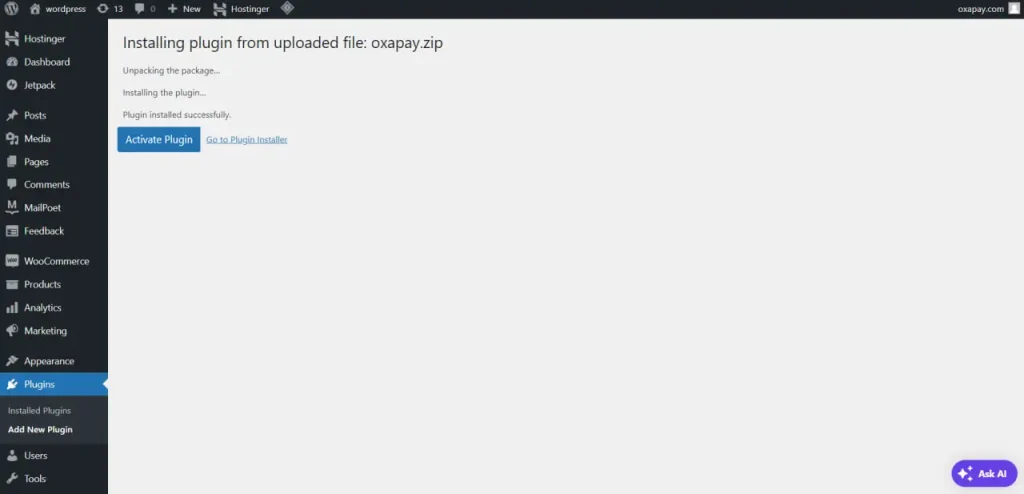
When WordPress reports that installation succeeded, click Activate Plugin. This installs the gateway into your store, but customers will not be able to use it reliably until you finish configuration and verify the checkout.
3. Create or retrieve a Merchant API Key
Sign in to OxaPay and create or locate your Merchant API Key in the merchant settings. Keep the key private and use the merchant configuration intended for your store. For account-side guidance, see How to Set Up Your OxaPay Merchant Account.
4. Open the WooCommerce payment settings
In Plugins → Installed Plugins, find OxaPay and use its Configure link if available. You can also locate the gateway under WooCommerce → Settings → Payments, with labels depending on the version installed. Enable the OxaPay payment method and enter your Merchant API Key in the appropriate field.
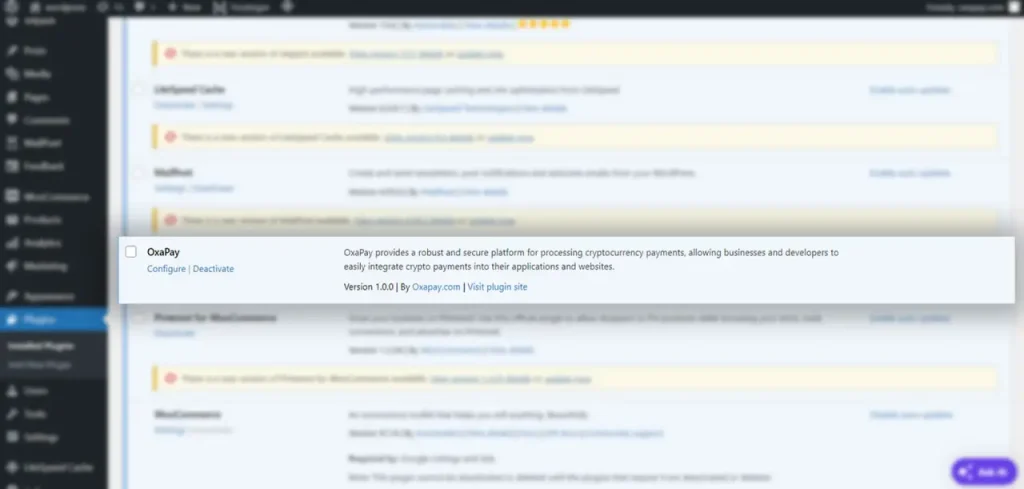
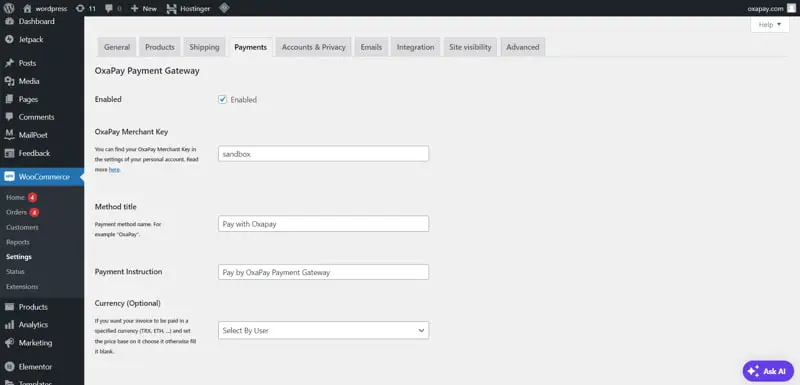
The screenshots above come from the earlier published article. WordPress and plugin labels may differ in the current release; use the latest interface and official documentation as the final reference.
5. Choose customer-facing payment options and fund handling
Offer currencies and networks that match customer demand rather than enabling every option by default. For example, stablecoins can suit customers who prefer an amount denominated in a dollar-pegged asset, while BTC or ETH may meet different preferences. Confirm the current supported combinations on the OxaPay Supported Coins page.
Separately, review OxaPay merchant settings for features such as Auto Convert to USDT and Auto Withdrawal. Underpayment and mixed-payment options may also be available depending on your configuration. These are merchant-level workflow decisions, not proof that every option is a toggle in every version of the WordPress plugin.
6. Save, test, and then enable live payments
Save your gateway configuration. Where sandbox testing is supported by the installed plugin, use the current instructions to test without real funds. Then verify your chosen live configuration with a controlled order before relying on the gateway for customers. Do not assume an older screenshot’s sandbox entry field still represents the current testing method.
If the payment option does not appear, first confirm the gateway is enabled, the API key is correct, and the checkout method is supported. OxaPay’s WooCommerce documentation also describes a classic-checkout workaround for a specific missing-payment-method message in older setups; check version compatibility before applying it.
Test the Entire Crypto Checkout, Not Just the Plugin Screen
Seeing the OxaPay option in WooCommerce is only the first checkpoint. Place a test order and follow the transaction as a real shopper would, including the handoff to the payment page and the change back in WooCommerce.
- Visibility: OxaPay appears alongside the other checkout methods and is selectable on the checkout your store actually uses.
- Amount and network: The invoice matches the order value, and the shopper can see the selected currency and correct blockchain network.
- Status synchronization: The order does not become eligible for fulfillment before the payment state you require is confirmed.
- Incomplete payments: Review how unpaid, underpaid, and expired invoices appear in both the OxaPay transaction history and WooCommerce order list.
- Customer return: The buyer can navigate back to the shop without the store treating navigation alone as payment proof.
- Delivery: Physical goods, downloads, memberships, or automated services are released only on the order status your business trusts.
Repeat the check after major WooCommerce, checkout-theme, or payment-plugin updates. A checkout that works with one page template or plugin version may behave differently with another.
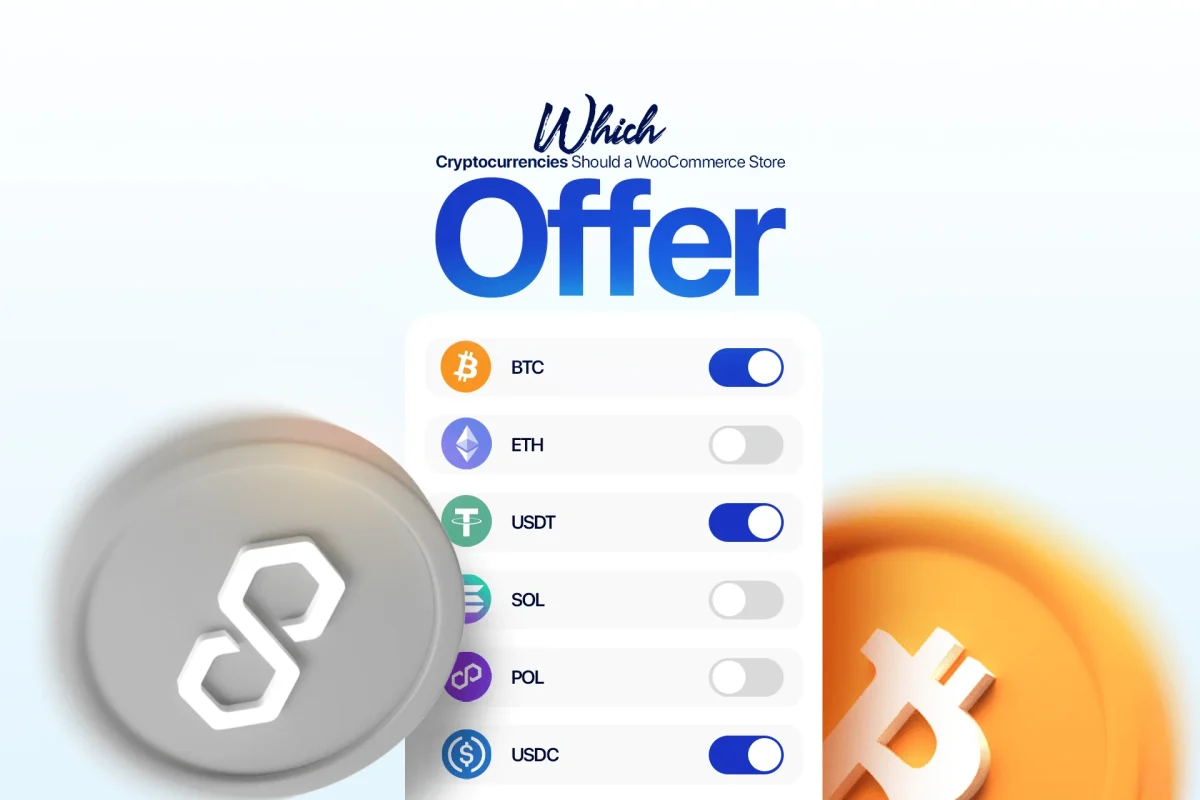
Which Cryptocurrencies and Networks Should You Offer?
There is no benefit in showing a long list of assets if shoppers cannot recognize the correct network. Begin with options already used by your customers and add others when payment behavior supports the decision.
| Decision | Practical question |
|---|---|
| Customer demand | Which coins and networks are your buyers already comfortable using? |
| Typical order size | Are network costs reasonable relative to the purchase amount? |
| Stablecoin preference | Would USDT or USDC make pricing and payment amounts easier to understand? |
| Wallet compatibility | Can buyers send on the exact chain shown by the invoice? |
| Support workload | Can your team handle questions about the combinations you enable? |
Clear currency-and-network instructions prevent more friction than an oversized asset list. Review the current supported coins and networks as availability evolves.
What Happens to Funds After Customers Pay?
The WooCommerce plugin connects checkout and order management; your OxaPay merchant settings control how accepted assets are handled after receipt. Depending on your account setup, you can hold supported assets in your balance, automatically convert eligible incoming assets to USDT, or arrange automatic withdrawals to an external wallet.
This separation is useful operationally. The cryptocurrency a shopper chooses need not dictate the asset your treasury team ultimately prefers to retain. Decide on conversion and withdrawal rules deliberately, taking volatility, processing fees, and accounting requirements into account.
How Much Does the OxaPay WooCommerce Plugin Cost?
The OxaPay plugin is free to install, with no separate WordPress plugin subscription. Transaction processing and applicable blockchain withdrawal/network charges are different costs.
Do not treat OxaPay’s advertised “from 0.4%” headline as the standard fee for every WooCommerce payment. The published pricing page lists Merchant Invoice processing at 1.5% per transaction and notes that lower rates may be available depending on business arrangements. Confirm the fee applicable to your merchant account before estimating margins or advertising a rate to customers.
Common Mistakes That Create Payment or Fulfillment Problems
Most avoidable issues come from mismatched expectations rather than difficult integration code. Merchants sometimes activate the gateway without placing a complete test order, overlook the difference between USDT networks, or assume a customer returning to the website means the payment is final. Others use an outdated plugin package or leave fulfillment automation tied to an order state that is not yet confirmed.
The safest default is straightforward: use the current official plugin, make the network unmistakable, verify status synchronization, and make order release depend on a trusted payment state.
When Is the WooCommerce Plugin Better Than a Custom API Integration?
If you have a standard WordPress store and want to add crypto alongside current payment methods, the official plugin is typically the most direct starting point. It preserves the normal WooCommerce checkout and order-management model without requiring a separate payment service maintained by your developers.
A custom API integration may be more appropriate for headless storefronts, deeply modified checkout flows, or payment logic that must live outside WooCommerce. That added control also means more responsibility for payment-state handling and ongoing maintenance.
Start With One Verified End-to-End Payment
To accept crypto payments on WooCommerce reliably, install the official OxaPay gateway, connect your Merchant API Key, choose sensible payment options, and verify the full order flow before enabling it for all shoppers. Once an order can move from checkout to confirmed payment and the correct fulfillment status, you can optimize supported assets and treasury settings using real customer demand.
Get the latest installation package and setup reference from the OxaPay WooCommerce plugin page.