💡 Думаете, настройка криптоплатежного шлюза сложна? Подумайте еще раз!
Многие компании не решаются добавлять криптоплатежный шлюз, полагая, что это слишком технично или требует много времени. Но что, если бы вы могли интегрировать полностью функциональный крипто платежная система менее чем за день, без продвинутых навыков кодирования или сложных настроек?
В этом руководстве вы узнаете простой пошаговый метод настройки криптоплатежного шлюза, который позволит вам расширить возможности оплаты и привлечь больше клиентов.
Шаг 1: Выберите лучшего поставщика криптовалютного платежного шлюза
Первый и самый важный шаг в настройке Crypto Payment Gateway — выбор правильного провайдера. Провайдер Crypto Gateway должен предлагать следующие основные функции:
- Высокий уровень безопасности: Надежное шифрование для предотвращения мошенничества и взлома.
- поддержка нескольких криптовалют: Принимаем Bitcoin, Ethereum, Tether и другие цифровые валюты.
- высокая скорость обработки: Наслаждайтесь мгновенными транзакциями без задержек.
- разумные расценки: Поддерживайте низкие затраты, чтобы максимизировать прибыльность.
- поддержка API и плагинов: Простая интеграция с такими платформами, как WooCommerce, WHMCS и Blesta.
🔹 OxaPay один из лучших вариантов для прием криптовалютных платежей, поскольку он предлагает все вышеперечисленные функции. Более того, благодаря поддержке нескольких сетей блокчейнов, быстрым расчетам, бесшовной интеграции с платформами электронной коммерции и конкурентоспособным комиссиям, OxaPay выделяется как идеальный выбор для бизнеса.
Шаг 2: Зарегистрируйтесь и получите ключ API менее чем за 5 минут
После выбора поставщика криптоплатежного шлюза следующим шагом будет создание учетной записи и получение ключа API. Этот процесс обычно занимает менее 5 минут, а с OxaPay нет требований KYC/KYB, что позволяет вам зарегистрироваться и начать принимать криптоплатежи мгновенно.
Шаги для регистрации в OxaPay:
1️⃣ Посетите Сайт OxaPay.
2️⃣ Нажмите «Зарегистрироваться» и создайте учетную запись.
3️⃣ Перейдите на панель инструментов и выберите соответствующий раздел:
- API торговца для функций, связанных с торговлей.
- API выплат для функций, связанных с выплатами.
- Настройки API для общих запросов и настроек API.
4️⃣ Выбрать Создать новый ключ API.
5️⃣ Выберите предпочитаемые криптовалюты и настройте свой шлюз.
6️⃣ Получите и сохраните свой ключ API.
✅ Поздравляем! Вы получили свой API-ключ менее чем за 5 минут.
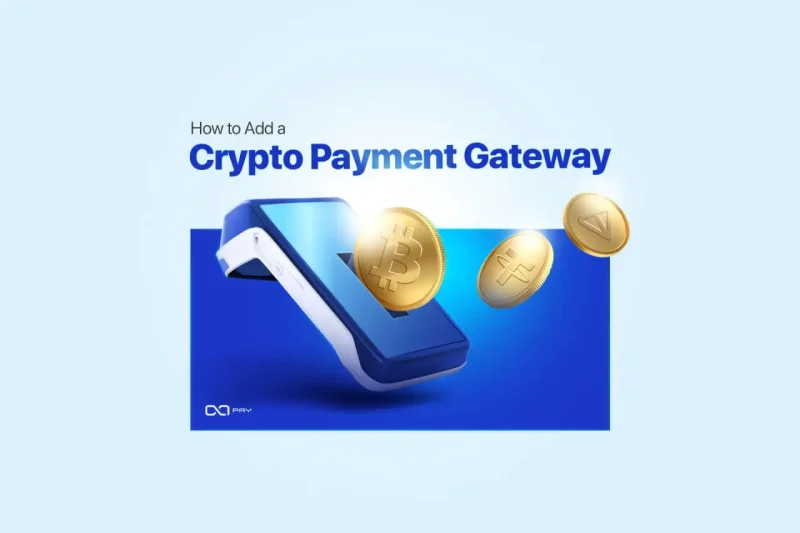
Шаг 3: Настройка криптоплатежного шлюза для веб-сайтов и интернет-магазинов
После получения API Key следующим шагом будет интеграция криптоплатежного шлюза с вашим магазином или веб-сайтом. В зависимости от вашей платформы существуют различные методы интеграции:
🔹 Метод 1: Установка плагина для электронной коммерции и финансовых платформ
Если вы используете популярные CMS и платформы электронной коммерции, такие как WooCommerce, WHMCS и Blesta, просто установите и активируйте соответствующий плагин:
1️⃣ Перейдите в административную панель вашего сайта.
2️⃣ Перейдите к Раздел плагинов.
3️⃣ Загрузите и установите плагин OxaPay.
4️⃣ Введите свой API-ключ в настройках плагина.
5️⃣ Сохраните настройки и запустите тест.
✅ Ваш платежный шлюз будет готов менее чем за 10 минут!
📌 OxaPay предлагает специальные плагины для различных платформ. Кроме того, чтобы увидеть полный список поддерживаемых плагинов и получить доступ к подробным руководствам по установке, просто посетите Плагины и приложения для электронной коммерции OxaPay раздел на официальном сайте.

🔹 Метод 2: Интеграция API (для разработчиков и пользовательских веб-сайтов)
Если вы используете собственный веб-сайт, вы можете интегрировать криптоплатежный шлюз напрямую через API:
1️⃣ Обратитесь к API-документация выбранного вами поставщика.
2️⃣ Используйте готовые примеры кода (PHP, Python, Node.js).
3️⃣ Вставьте свой ключ API в код.
4️⃣ Разверните шлюз на своем сервере.
✅ Этот метод дает вам больший контроль над вашими платежами.
📌 Более того, OxaPay предлагает такие расширенные услуги, как крипто-счет,Шлюз White Label и Статический адрес, которые обеспечивают более глубокие возможности настройки и улучшенный контроль транзакций.
🔹 API OxaPay поддерживает различные вебхуки для оплаты в реальном времени обновления. Кроме того, для бесшовной интеграции бизнеса доступны многочисленные функции API, включая генерацию счетов, проверку статуса платежа, расчеты и извлечение истории транзакций.
Хотя интеграция API требует технических знаний, подробная документация доступна, и служба технической поддержки OxaPay всегда готова вам помочь.
Шаг 4: Протестируйте платежный шлюз и завершите настройку
Прежде чем включать платежный шлюз для клиентов, выполните тестовую транзакцию, чтобы убедиться, что все работает правильно.
🔹 Шаги по тестированию шлюза:
1️⃣ Создайте тестовый заказ на своем сайте.
2️⃣ Выберите опцию «Оплатить криптовалютой».
3️⃣ Завершите транзакцию, используя тестовую криптовалюту.
4️⃣ Проверьте статус платежа в панели управления OxaPay.
✅ Если все работает правильно, вы готовы принимать реальные платежи!
Принимайте криптовалютные платежи без веб-сайта: простое решение
Если у вашего бизнеса нет веб-сайта, но вы все равно хотите принимать криптовалютные платежи, OxaPay предлагает Функция платежной ссылкиЭтот метод идеально подходит для фрилансеров, поставщиков онлайн-услуг, продавцов в социальных сетях и малого бизнеса без веб-сайта.

✅ Как создать ссылку для оплаты:
1️⃣ Войдите в свою учетную запись OxaPay.
2️⃣ Перейдите в раздел «Ссылки для оплаты».
3️⃣ Создайте индивидуальную ссылку для оплаты для вашего клиента.
4️⃣ Поделитесь ссылкой по электронной почте, в сообщении или в социальных сетях.
5️⃣ Клиент переходит по ссылке и платит криптовалютой.
✅ Начните принимать криптовалютные платежи всего за несколько минут без веб-сайта!
📌 Этот простой и быстрый метод делает Прием криптовалютных платежей удобен для предприятий без веб-сайта при этом обеспечивая простоту управления транзакциями.
Настройте свой криптовалютный платежный шлюз сегодня!
Очевидно, что настройка криптоплатежного шлюза быстрая, простая и не требует дополнительных навыков. В этом руководстве вы узнали, как без проблем интегрировать криптоплатежный шлюз в свой бизнес менее чем за день.
Основные выводы:
1️⃣ Прежде всего, выберите подходящего провайдера с учетом безопасности, скорости и тарифов.
2️⃣ Далее зарегистрируйтесь и получите свой ключ API менее чем за 5 минут. KYC/KYB не требуются.
3️⃣ Затем интегрируйте шлюз через плагины или API.
4️⃣ После этого протестируйте транзакции, чтобы убедиться в бесперебойной работе.
5️⃣ Наконец, если у вас нет веб-сайта, не проблема! Используйте платежные ссылки для приема криптовалютных платежей.
🔹 Сейчас самое время начать прием криптовалютных платежей. С OxaPay, вы сможете без труда и в кратчайшие сроки настроить безопасный, быстрый и недорогой шлюз.
👉 Зарегистрироваться сегодня и выведите свой бизнес на глобальный уровень с помощью криптовалюты!